3D Printing – A Simple Idea

3D models
We hear more and more about 3D printing and what it is able to do. 3D printers have come down in price and can be bought for under $500.   Here is an example of using a 3D printer from a recent project that I consulted on.
The open pit was going to be located in hilly terrain, and issues related to haul road access, waste dump sites, and leach pad location were all important.   The client used a 3D printer to create a small desktop model of the terrain, which was given to each of the consulting firms.
The photo below shows the scale of the model.
3D printed topography
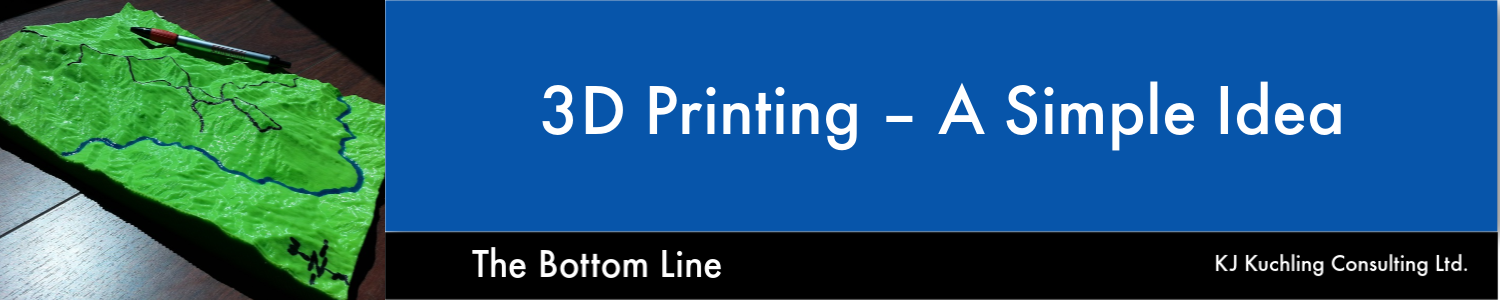
Members of the engineering team were each given their own 3D model to take back to their offices.  Putting one of these on your desk helps with familiarity of the overall site and allows you to better understand the siting and drainage issues.
Topographic maps may give data on actual elevations and distances, but even a small 3D model gives you a feel for the site.    The model shown above was for undisturbed topography but one could easily print off a similar model once the final pit and dump design is done.
With the current three-dimensional printing capabilities, creating simple 3D topographic models for the engineering team is feasible and I recommend doing so.
At the same time provide the Owner’s team with their own models, helping them understand the site issues that must be dealt with.
Share

Google Earth – Keep it On Hand

Mining studies
In a previous blog post “Mine Site Visit – What Is the Purpose?” I briefly discussed the requirements for a mine site visit to be completed by one or more Qualified Persons (“QP”) in a 43-101 compliant study.    Unfortunately normally the entire study team cannot participate in a site visit; however the next best thing may be Google Earth.

See the Mine Site with Google Earth

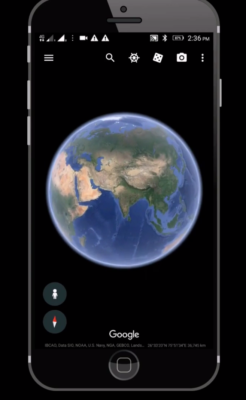
Gather your team around their computers and fire up screen sharing software like Teams, GoToMeeting, Skype, or Zoom.  Give control of the mouse to someone who knows the site well.  Here are some of the things you can do on your group tour.
  • You can fly-around the project site examining the topography.
  • You can view regional features, regional facilities, land access routes, and existing infrastructure.
  • You can measure distances (or areas), either in a straight line or along a zigzag path.
  • You can view historical aerial photos (if they exist) to show how the area may have changed over time.
  • You can import GPS tracks and survey waypoints.  If a member of the study team has visited the site with a GPS, they can illustrate their route and their observations.
My recommendation, at the start of a study, is to always have a Google Earth session with your technical team to examine the project site and the regional infrastructure.
A group session like this ensures that everyone sees and hears the same thing. It’s like taking a helicopter tour of the site with your entire study team at once.   A “helicopter tour” would be a good agenda item at the very first kickoff meeting.
Another option is to check the aerial photos and Bird’s Eye views on the Bing Maps website (www.bing.com/maps).  Sometimes those images will be different than what you will find in Google Maps or Google Earth.
As mentioned above, for those still interested the  previous blog post is at “Mine Site Visit – What Is the Purpose?
Note: If you would like to get notified when new blogs are posted, then sign up on the KJK mailing list on the website.  
Share